Posts
A post goes to one or more channels. Planner posts are created for you; you can also create a post yourself from Plan → Posts → New post.
Create a post
The editor has five steps: Channels → Media → Content → Channel → Review. A preview on the right shows the post on each network as you go.
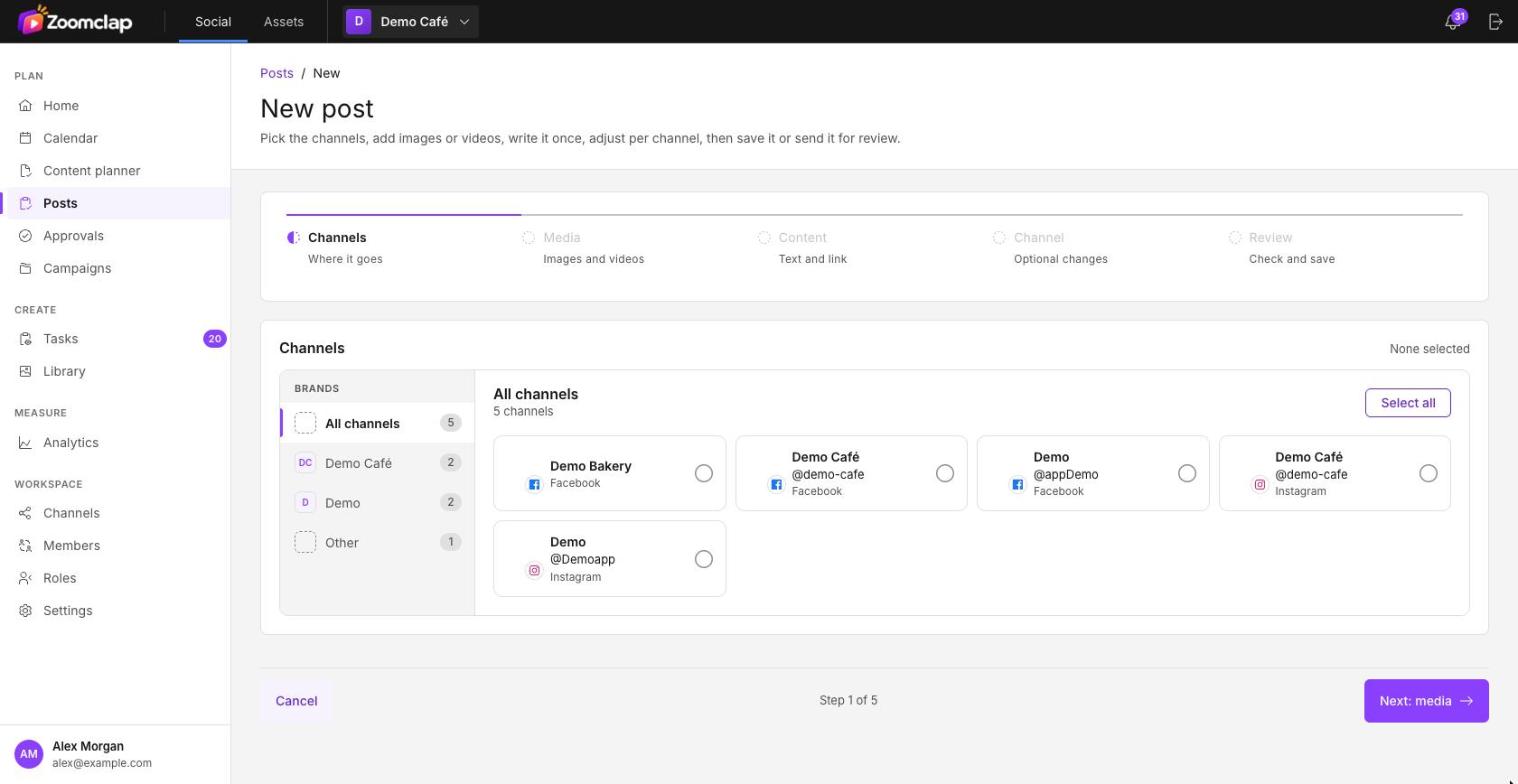
1. Channels
Pick where the post goes. Use the brands on the left to find channels quickly.
2. Media
Add images or videos, or choose Skip: no media for a text post on Facebook. Each image is cropped to the network's ratio; change crops in the Library.
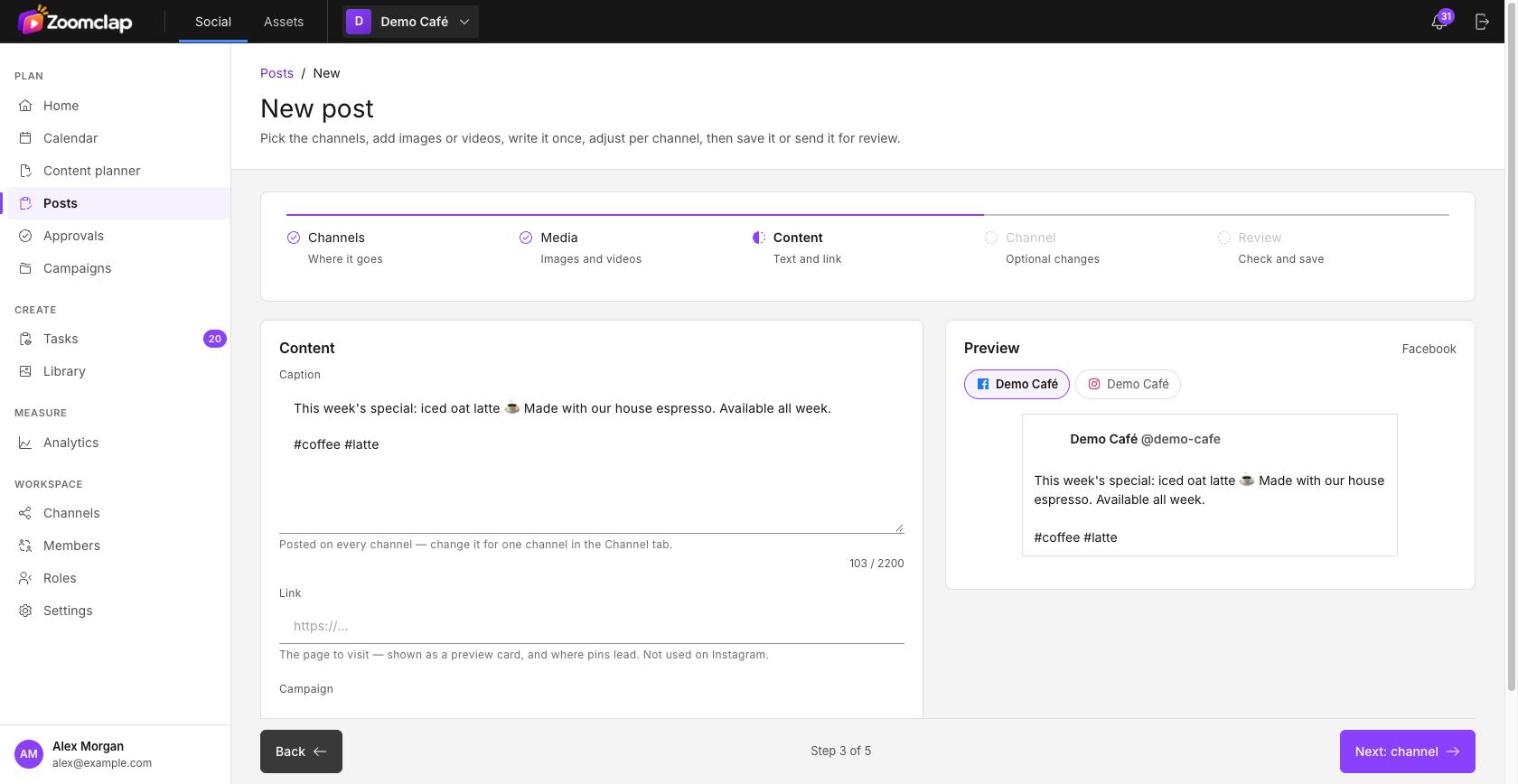
3. Content
Write the caption once; it's posted on every channel. Add an optional link (shown as a preview card; not used on Instagram) and a campaign.
4. Channel: a version per channel
Pick a channel to change just its caption or media. Anything you leave alone follows the post. Each channel shows a check mark when it's ready, or the number of things to fix.
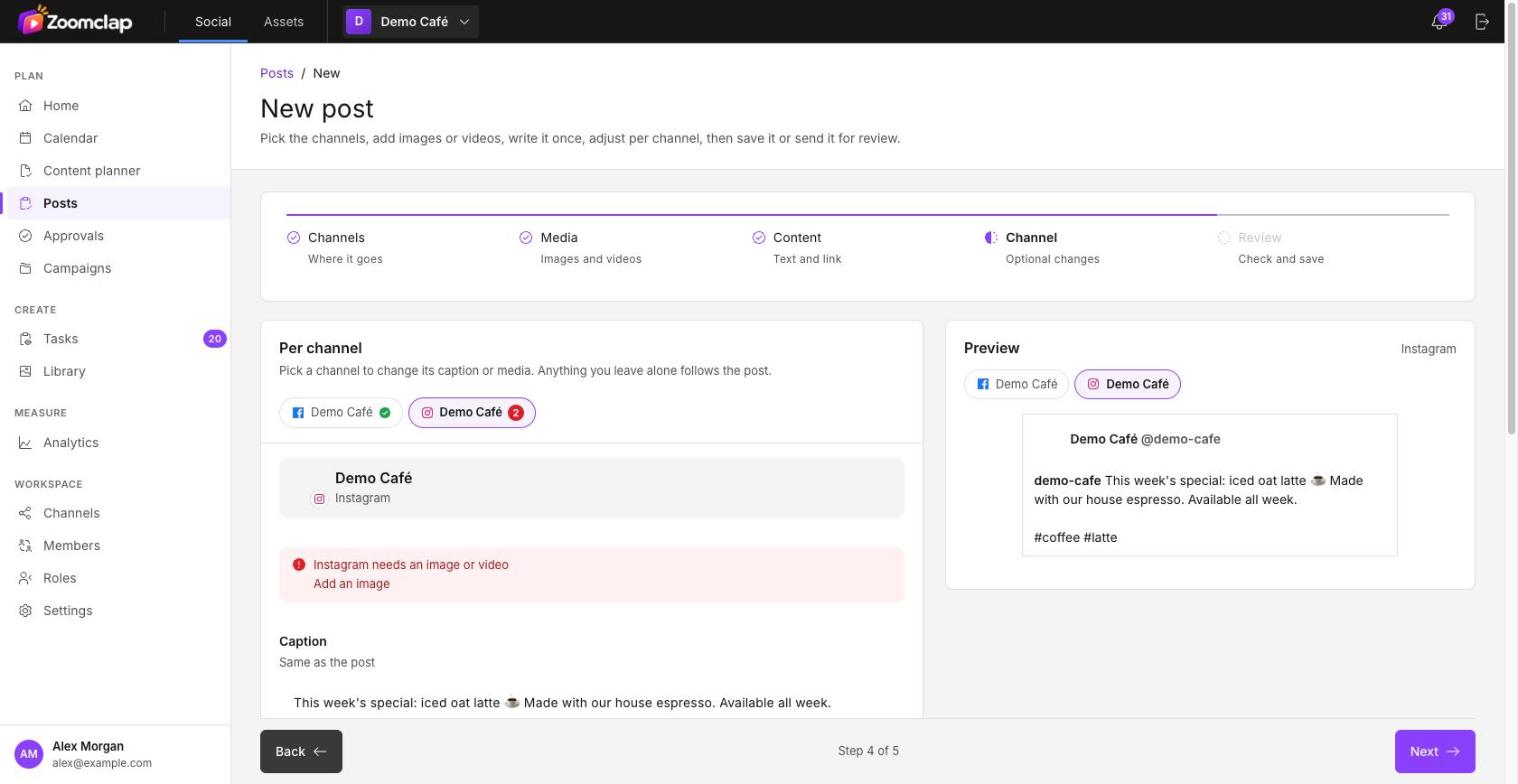
For Instagram you can also add a first comment (often used for hashtags), and post carousels (several images) and reels (video).
5. Review
Check everything, then save the post as a draft or send it for review.
Statuses
| Status | Meaning |
|---|---|
| Draft | Being written or designed |
| In review | Waiting for approval |
| Changes requested | Sent back with a note |
| Approved | Approved, not yet scheduled |
| Scheduled | Will publish at its time |
| Published | Live on the network |
Scheduling
An approved post can be:
- scheduled for a date and time,
- added to the queue for the next free slot, or
- published now.
Finding posts
Plan → Posts lists every post. Search, or filter by status, brand, channel, campaign or designer.
After publishing
The post links to the live post on each network. Its numbers appear in Analytics.